![]()
Foamboard Case for the Module
Photos by Glenn Koproske September 20, 2006
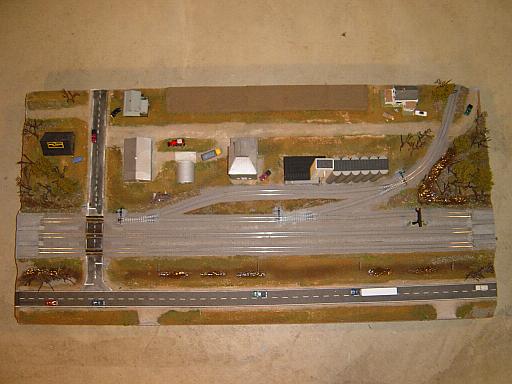
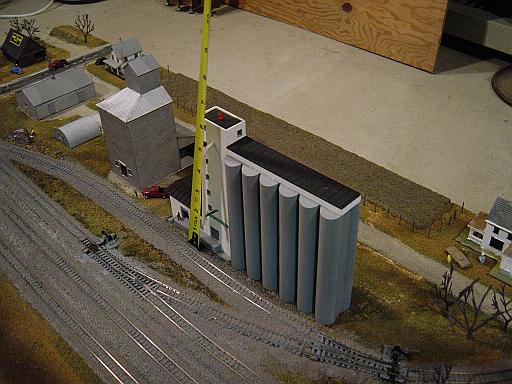
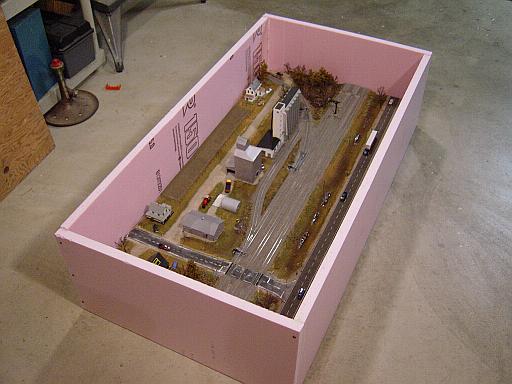
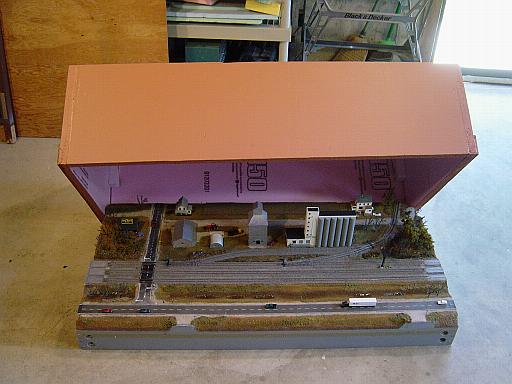
| It is always cool to take a photo of a direct overhead view of a module. People don't do this often enough. You just don't get this perspective at any other time. You have to put the module on the floor and stand on a chair to get a good shot. |
| All the buildings are installed with LED lighting and are glued down. Travelling modules need to have their structures permanently attached, if at all possible. It is a drag to have to store the buildings in a box and take the time and effort to put them on and take them off again for each show. All modules need a case for protection from being banged around at train shows. |
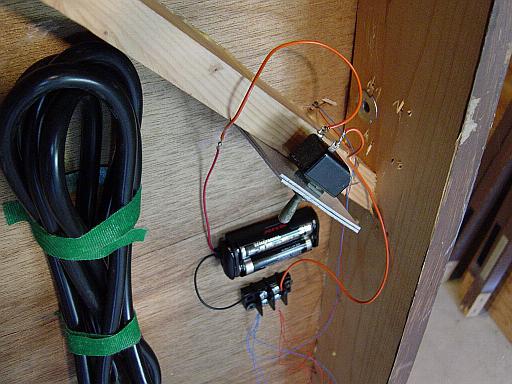
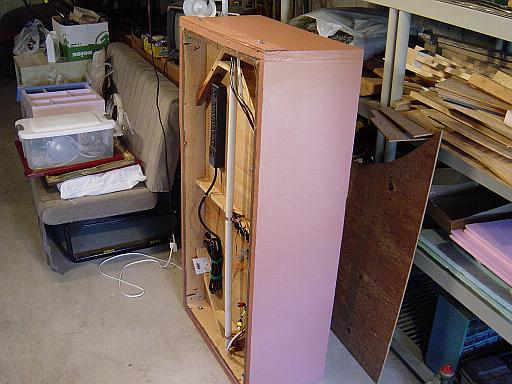
| This is the electrical connections for the LED building lighting. It is all powered by AA batteries, and has an On/Off toggle switch. |
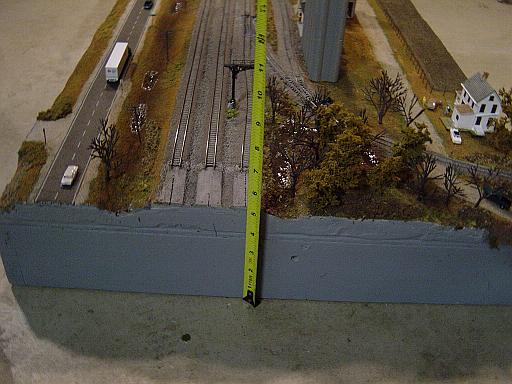
| The first measurement we need is the basic height of the module. How far from the bottom of the frame to track level? |
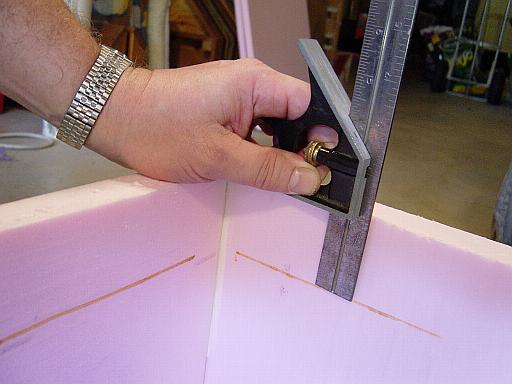
| The other crucial dimension is how high the tallest structure is measured from track level. Then you have to add an inch or so for a safety margin. |
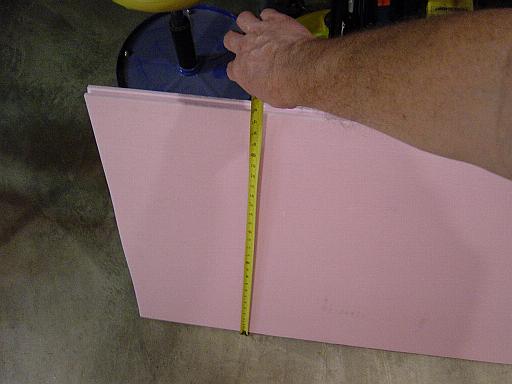
| The foam board needs to be cut at the sum of the two measurements we just made. This is total clearance from the bottom of the frame to about 1 inch above the top of the tallest structure or tree. It is not easy to use one hand to hold the ruler and the other hand to take the picture. |
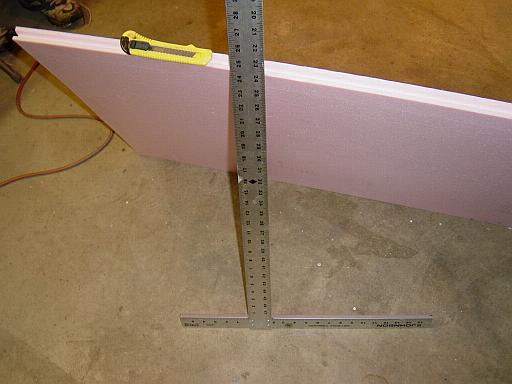
| Materials and tools needed are 1" extruded foam board, a steel rule, and a long bladed utility knife. Use a brand new blade. Lowe's did not carry 1" extruded foam board. Home Depot did have it but it was tongue and groove. 1/2" foam board is not stiff enough to make a decent box. |

| The long sides should be cut first, for two reasons. These pieces will take up the greatest amount of area from your foam sheet, and this is the dimension we want to establish as a baseline for constructing the box. Be sure to leave extra length so the front and back pieces stick out beyond each end of the module. |
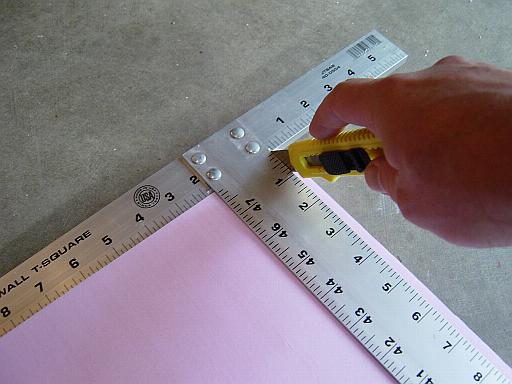
| Believe it or not, foam board has a grain to it. Cutting with the grain yields a smooth slice. Cutting against the grain causes the blade to catch. You have to have quite a bit of open floor space to accomodate a 4 by 8 sheet. Take care to keep the blade against the rule, and be perfectly perpendicular to the foam. A crooked cut will look terrible. Foam board will also sand quite nicely. |
| The end pieces of foam are wider than the module by twice the thickness of the foam board. Nails were used as pins to hold the box in alignment. Just push them right in with your fingers. |
| A T-square is used to draw a line to indicate where the foam will go so that we know were to apply adhesive. When you draw lines on foam board, use a Sharpie marker or a Woodland Scenics pencil. Anything else will score a rut on the surface. |
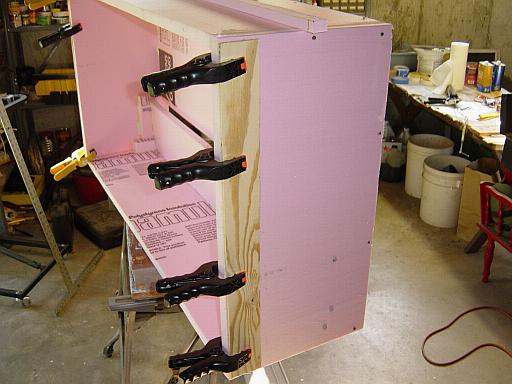
| Bracing is installed at the inside corners. The top needs to be supported by having a shelf to sit on. |
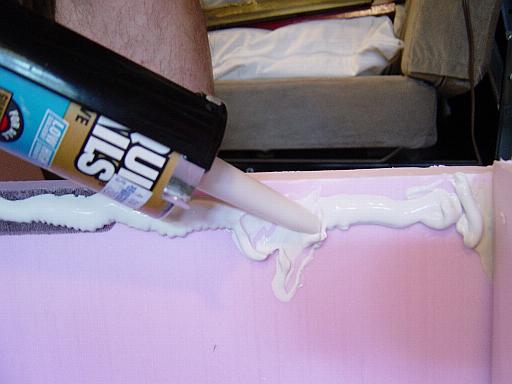
| Liquid Nails for Foamboard was too wet and runny, and had very little solvent. It did not hold well and took too long to dry. |
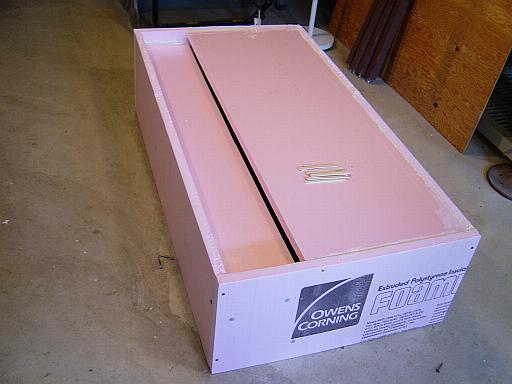
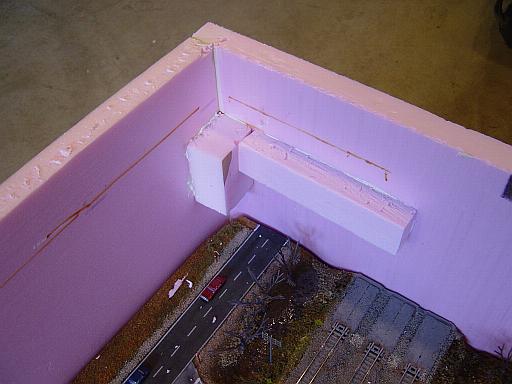
| The top piece of the case is flush with the edges of the side pieces. However, it is a cool idea to make a small trough on one side to hold the module legs. Cut the top foam piece about 2 inches wider than the collective width of all 4 legs, and sink it down by the thickness dimension of a leg. This way, the legs will always be with the module and do not have to be bundled. A recessed shelf like this will keep the legs from snagging when the case is moved around. |
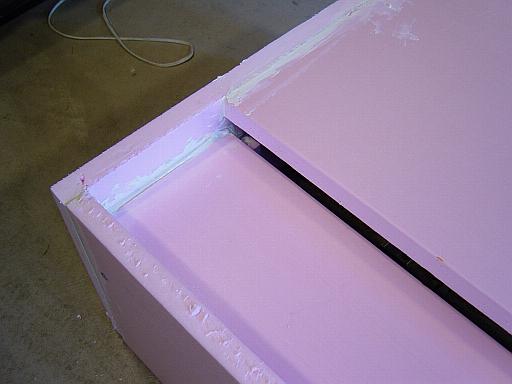
| You can see the offset between the shelf for the module legs and top of the case. Ample adhesive was used. The gap will be filled in from the inside with a long strip of foam board. |
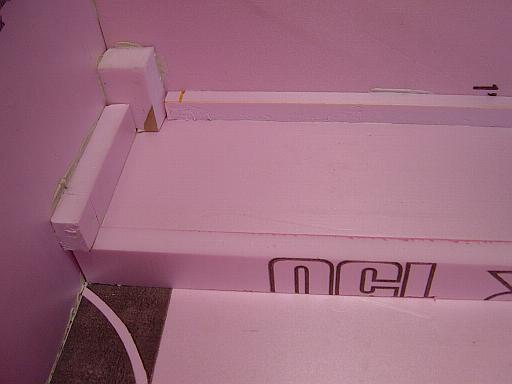
| From the inside with the case lying upside down, notice the strips that support the shelf along the long side as well as the filler that hides the gap between the shelf and the top. |
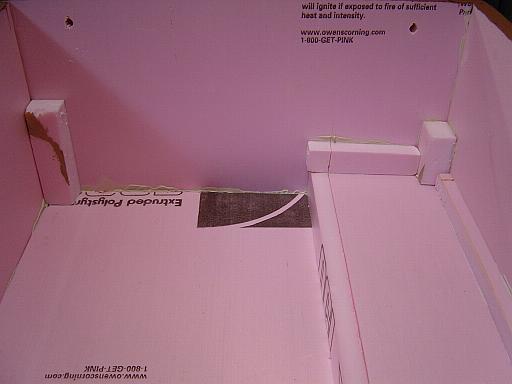
| Corner braces are crucial when you are doing butt glue joints. The corners take all the stress of flexing and banging. Naturally they cannot extend all the way to the end because that is where the module is. Note the holes for the bolts that will attach the case to the module. |
| A piece of thin plywood is being glued on to the ends of the foam case. This is to protect the foam from the 5/16" by 2 1/2" bolts and washers that will attach the case to the module. You can tighten the bolts and washers up against the wood without damaging the foam. |
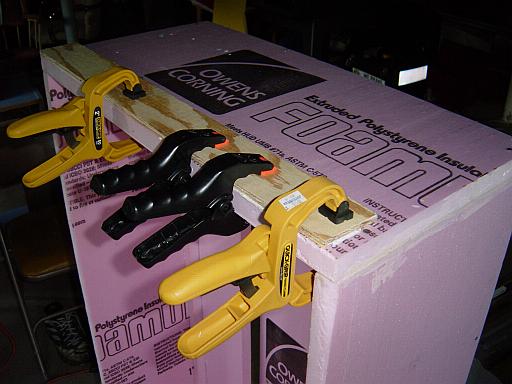
| The wood was warped and the glue didn't hold. Encouraging vocabulary and additional clamping was directed toward the materials that were behaving badly. |

| A 5/16" tee nut is driven into bolt holes drilled through the case into the module frame. Two bolts at each end. |
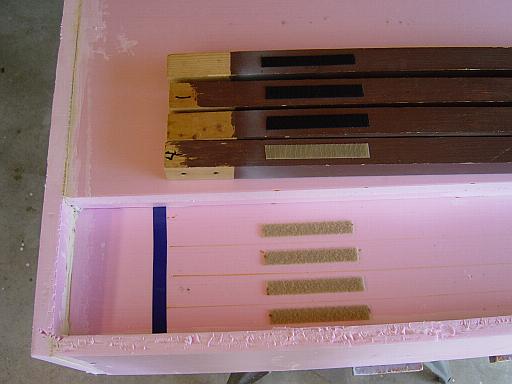
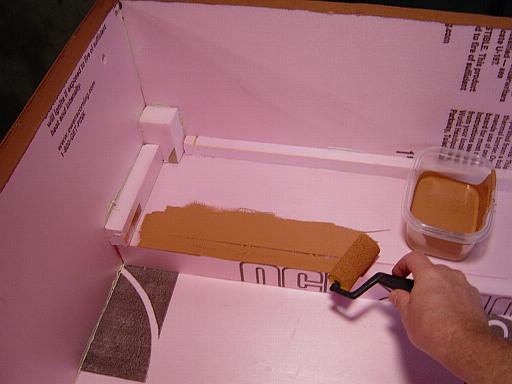
| We will hold the module legs to the case with velcro. Draw a line where each leg goes on the shelf. The velcro was cut in 5" strips, mounted 5" from the end of the legs. The lines drawn on the shelf will help position the velcro. Blue electrical tape is applied to mark the ends of where the module legs go. That will align the velcro pieces. |
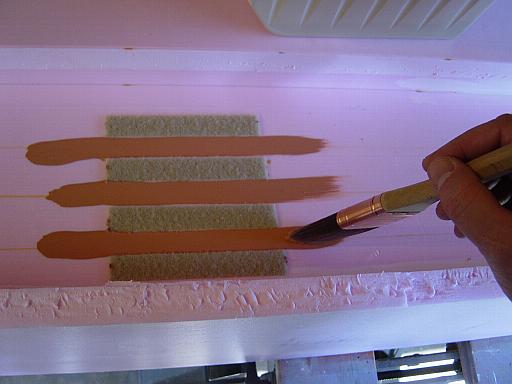
| A coat or two of ordinary latex paint will seal the pores of the foam board and make it stiffer. In this photo, we are painting around the velcro pieces. The velcro was applied first directly to the foam. You do not want to apply anything to a painted surface because the paint can just peel right off. |
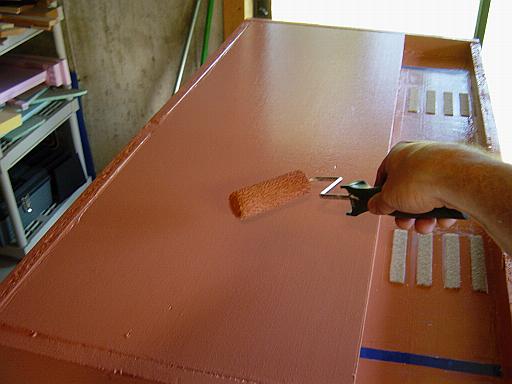
| The rest of the case is painted with a small disposable roller. No one wants to see pink foam with big black logos. |
| It is important that the case fits snugly on the module but still goes on easily. It should not catch on any of your scenery. You can see that the inside of the case was not painted. I thought about it, but naaaaah. |
| The toughest thing to do is to get the case aligned properly so that nothing on the surface of the module is damaged. Most of the time you will have to do this all by yourself at a train show, so make it as easy to do as you can. The foam board makes the case very light, which helps when one person has to take it off and put it back on again. |
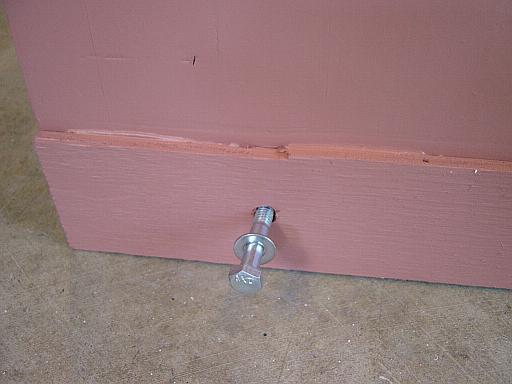
| Bolt and washer go in the hole and into the tee nut on the module frame. You should make your bolt sizes uniform so one tool can be used to do all the bolts on all your modules. 5/16" bolts have 1/2" heads, which is ideal. |
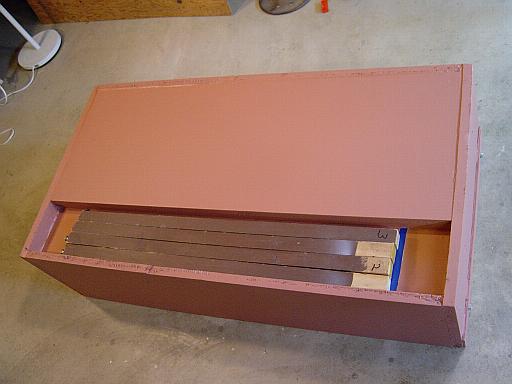
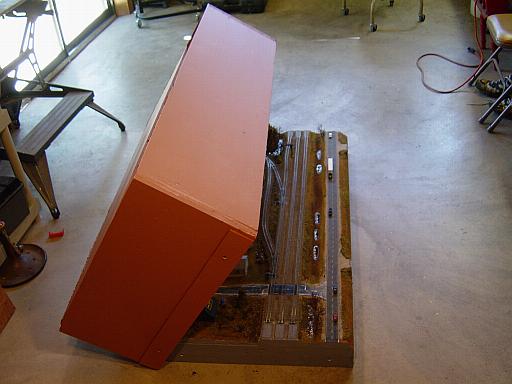
| The case is on the module and the bolts are fastened. The legs are stored on the shelf of the case. |
| The module is protected and ready to go to the next show. |
|
Strong objections were made to the inside of the case being unpainted. A late night was spent getting out the paint bucket and a foam roller. |
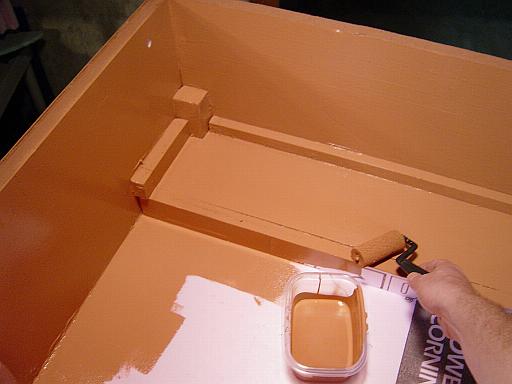
| Now that all the pink surfaces and black lettering are being covered, the inside starts to look decent. |
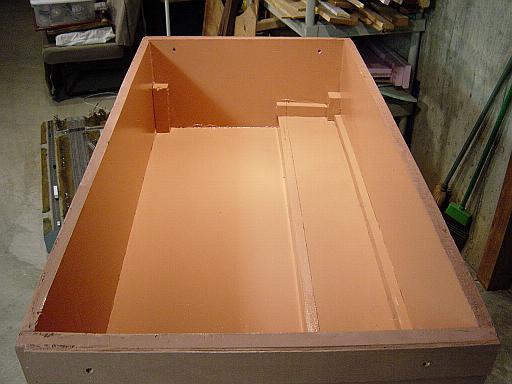
| Considering that the case will usually be sitting in the layout room on its side or end, the inside will usually be exposed. It looks good after painting. By the way, this color is satin Amaretto. |