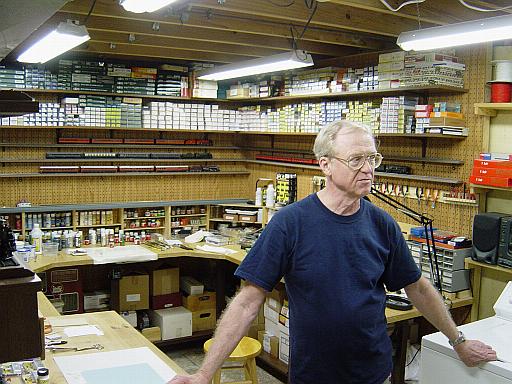
Fred Houska's Layout - Image 4 of 100